среда, 27 июля 2011 г.

Корзиночки

May Day Flower Baskets

I had vague memories of weaving paper baskets for May Day as a kid, but when I started making these, the memories came flooding back. I love it when that happens. Making them is easy. Take a square piece of paper (I used some old magazine covers), and fold it into 9 equal parts (just draw a tic-tac-toe game and fold on the lines).  Cut out the corners and then cut slits up the sides, leaving about 1/2 inch uncut at the tops (see photo below). Then cut strips of paper, and weave them in. When the weaving is done, use tape or glue to attach a handle. Then fill with flowers and give them to a friend or neighbor!
Jack and Tess were so excited about picking flowers in our yard and arranging them in the baskets. They said they wanted to keep them, so we’ll have to make some more by May 1st to give away.

Платье для девочки

DIY "Pillowcase" Baby Dress Pattern


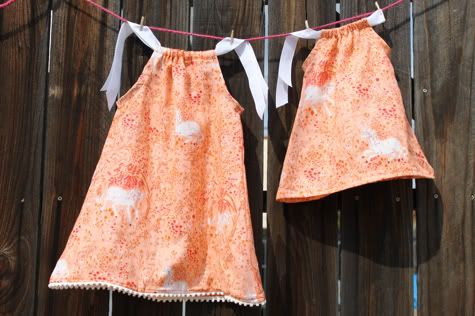
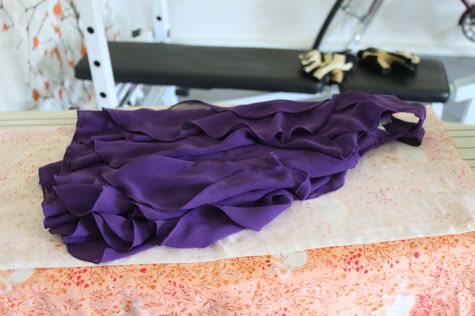
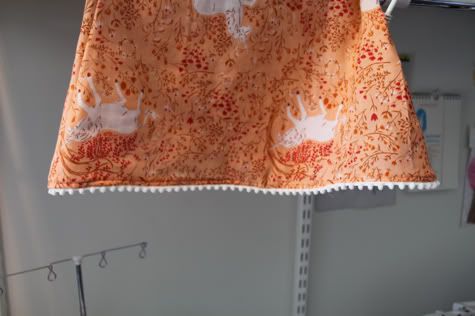
"Pillowcase" dresses are popular because they are so simple to make, the measurements aren't super important, and they can grow with baby from a dress into a top.  I guess they are often made out of pillowcases but I used regular old fabric.  The small one pictured here fits about 0-3 months and the large one is about a 2T, templates for both are after the jump.  If you are new to sewing and want to try a dress, this is the one.

See pics of it on my girl here, and get the full DIY on How to Sew A Pillowcase Dress after the jump...

Pillowcase - Style Baby Girl Dress Free Pattern


1.  First you need to cut your fabric. You need two identical pieces, a front and a back. The easiest way to determine your size is just to trace a dress that fits your child well:

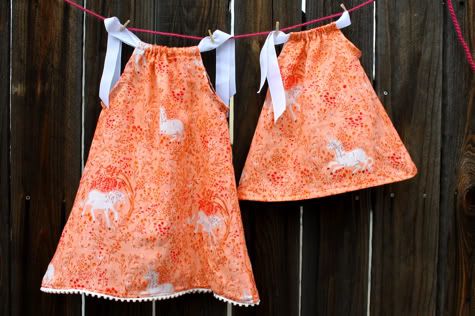
However, I will share with you this drawing of the sizes I cut.  The first is a 0-3 month size and the second is about a 2T.  The great thing about this type of dress is the measurements don't need to be very specific and it will still fit, AND it can grow from a dress to a top as baby gets taller.
Baby Dress Template size 0-3 months:

Baby Dress Template size 18 months - 2T:


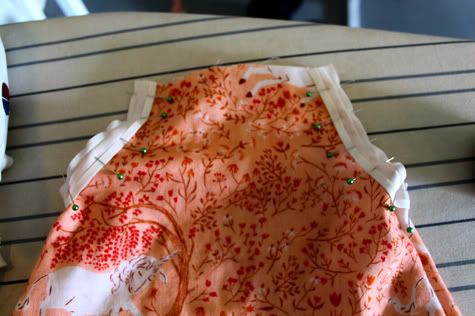
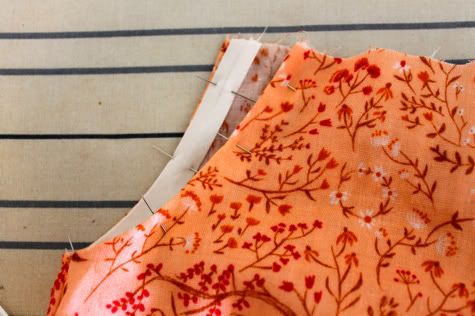
2.  Lay your two dress pieces right sides facing and pin:


3.  Sew up either side and finish the edges by serging, sewing with a zig zag or overlock stitch, or cutting with pinking shears:


2.  Fold the bottom edge 1/4" to the inside and iron.


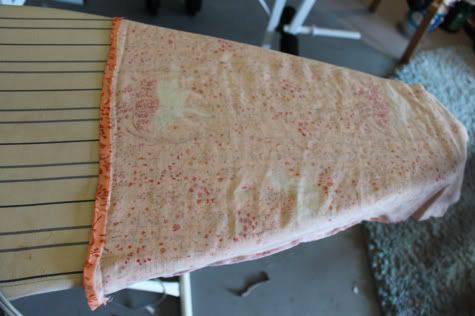
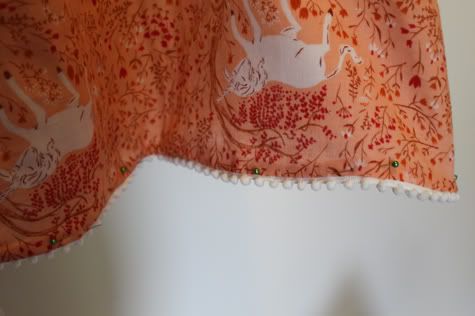
If you are going to skip a trim and just hem, then go ahead and fold another 1/2" iron and sew the hem in place (like the smaller dress pictured).  If you want to add trim, then don't complete the hem. Instead, with your edge ironed just 1/4" under, pin your trim to the front of the dress aligned with the folded edge, with the pretty part of the trim up to the inside of the dress like so:

Sew it in place:

Now fold the trim under, iron and pin:

Here's a shot of the folding in action:

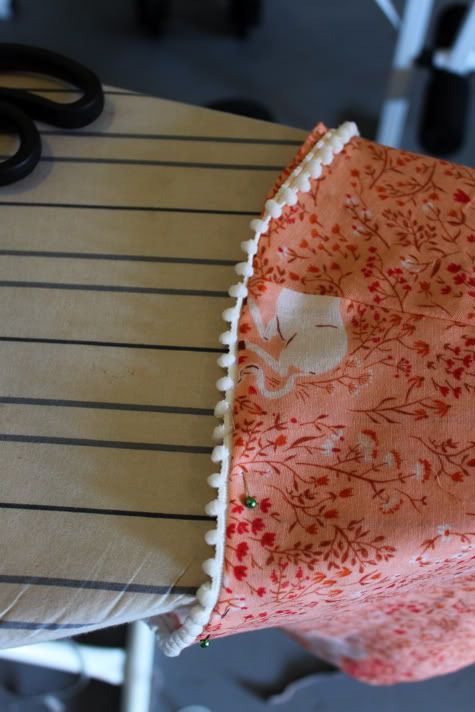
Top stitch into place to complete your trimmed edge:


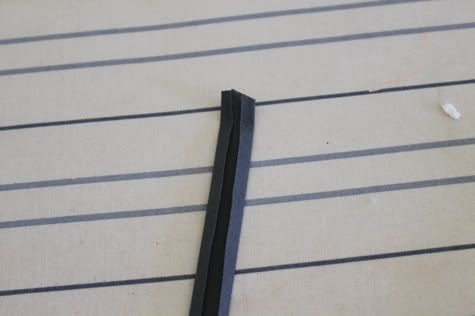
3.  Now grab a piece of single-fold bias tape, it's the one that looks like this:

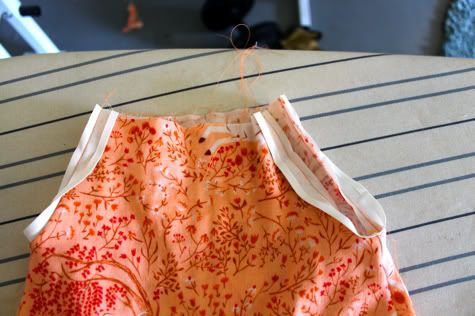
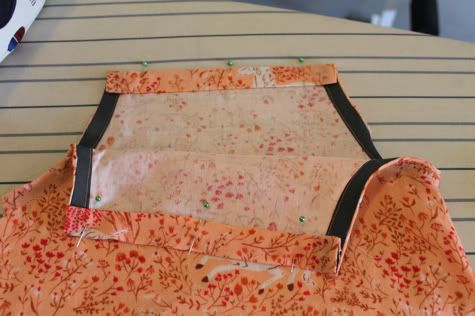
Open the bias tape and align one edge with the armholes on the right side of your dress and pin it in place all the way around:

Sew in place along the fold:

Now flip the bias tape all the way to the inside of the sleeve and pin like so:

Sew it in place along the edge of the tape.  This holds the shape of your sleeve as well as giving a clean finish to the armhole.  You could use double fold bias tape if you wanted it to show, but for this dress I didn't.


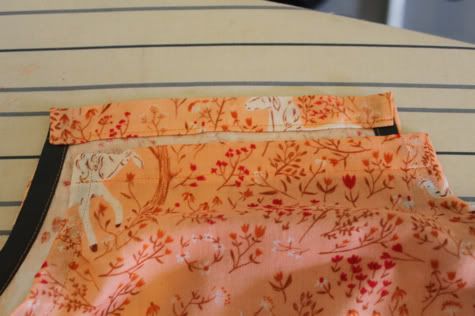
4.  Now fold the top edges of your dress in 1/4" and iron, then 3/4" and iron and pin in place.

Sew right next to the edge to create the pocket for your ties.


5.  Thread your ties through with a safety pin.  Any kind of ribbon is cute, or you could sew some ties out of bias tape or matching or contrasting fabric.  You can do one in the front and one in the back so the dress ties above each shoulder, or one long one that only ties on one side (like the smaller dress pictured).  You're done!:


соскодержатель

ловите мастер класс по изготовлению симпатичных держателей для сосок-пустышек вместе с прилагающимся к этому делу мешочком в цвет изделия.

подарок новорожденному

Заколочки

Lucky Hair clips

I wanted to send something to my sister’s kids in March so I made these cute Hair clips for Clementine and a Lucky shirt for Oscar. These clips were really simple and only took about an hour to make. (An hour with an awake toddler to distract me)
027
Here is what you will need to make your own
  • Scraps of felt in kelly green, dark green and white.
  • green embroidery floss
  • 2 Contour clips
  • scissors
  • needle
  • Scrap of paper

    001 On a scrap of paper, trace around the contour clip leave a boarder of about 1/4th an inch this will be your pattern for the white and dark green felt. Cut 2 shapes form both colors.
    009 Cut 6 hearts from the kelly green felt. The hearts should be about the size and shape of the hearts on a deck of cards.
    017 Once you have cut all your pieces out you are ready to sew your lucky clovers on.
    020 I sewed a plus sign with 3 stitches for each heart shaped leaf and 3 stitches for the stem. Do the same thing on the other piece of white felt. Be sure to do the mirror image of the first clip or else it will be upside down when worn.019
    022 Cut a small slit in the dark green felt to insert the center part of the contour clip as shown. You will fasten in place by sewing through the circle at the triangle tip
        Next sew the top and bottom together and wear or give to a very lucky friend.
007
0 comments

Костюм пчелка

Happy Bee Costume

I kind of regret last years Halloween Costume. Not because it was lame but because it was so awesome and so adorable I can’t imagine how I could possibly improve it. But of course I had to try, and so I bring you…
Happy bee
I started by making an inner lining for the costume. I traced the outline of one of my son’s muscle shirts onto one of my old t-shirts. I did extend the length of the tank by about 6 inches to cover the butt. I also added an extra inch to the sides of the back piece below the waist to compensate for the diaper bulge.
057 060
Then I did a four thread serge along the sides and the shoulder seams.
064
042
For the outer shell you need to make a yellow and black striped fabric. I used a super soft fleece-like material that shed like crazy when I cut it. I made 4 inch wide strips and then used a four thread serge to sew them together. I also did a 3 thread serge around the edges of created fabric. When I was finished making the fabric, I was covered with just as much fuzz as it was. I though it would be a pain to clean up but I took it outside and gave it a real good shake and 95% of the fuzz blew away in the wind.045
I love these stripes. I was almost sad to cut into it.
068
To cut the outer fabric I folded the inner shell in half and lined it up along a fold. I cut the neck, shoulder, and arm holes exactly the same. But then I cut a convex curve  for the side lengths. Don’t forget that the neckline is different but otherwise cut the same piece  a second time. Be mindful of the stripes. You want to line them up while cutting or they won’t match in the final costume. I also cut the bottom edge to be 3 inches longer than the inner shell.071
Before it had a chance to shed again I did a serge around the arm and necklines of both pieces.  Then I placed them right side to right side and did a 4 thread serge on both side seams and across the shoulder seam. If you need to, also serge the bottom.
074
With the inner shell right side out and the outer shell wrong side out place the inner piece inside and stretch pin and sew the bottom hems together
 077078
Turn the piece right-side out and put the lining inside. Cut a length of elastic based on your child’s waist. In the final costume it will actually rest mid thigh but the waist measurement should make it loose enough to walk around.  Place the loop between the 2 layers and sew a casing using the excess 3 inches of outer fabric. I basically used the bottom black strip as the casing and managed to stitch in the ditch on both sides.
 080015
Add stuffing between the 2 layers to puff up the body then use some ribbing or stretch material to bind off the neck and arm holes. If you live in a cold climate you could add some black sleeves.
 013  


No bee would be complete with out a stinger. I took some black fabric and cut a circle the size of a small plate. you will only need a third of it.
016
Fold right side to right side and sew the two straight edges together. Turn it right-side-out and stuff then hand stitch it to the back of the costume. I had my son try on the costume so I could place the stinger in the right place.
018
013


020 


To make the wings get some 14 gauge wire from the hardware store, electrical tape, a pair of knee highs and some black straps of fabric.
Bend the wire into the shape you want  for the wings and wrap the center where the wire ends meet with electrical. Slip one knee high over each wing and tie them together. You may have to reposition the wire after the knee highs are in place.
008 012
I used some leftover fabric to hand stitch a loop of fabric around the joint. Then I cut a length of jersey material to loop behind the back, under both armpits and behind the neck. I tied a knot and then fed the shoulder straps through the loop on the wings.
 002 006
For the Antennae I decided there was no way my kid wound keep on the regular headband variety so I picked up a black hat from Target for $1. For each antennae I folded a black and a yellow pipe cleaner in half and poked each end through the inside of the hat then I took the four ends and did a four strand braid. I hot glued a pom-pom on the end.
015
Add a pair of black leggings and watch as your baby bumble bee buzzes all around you.
021  055 
Ruth